Repotting Houseplants Made Easy

Introduction
Welcome to the ultimate guide on repotting houseplants! At Cutting Hedge Services, we understand the importance of maintaining healthy and thriving houseplants, and repotting plays a significant role in their overall well-being.
Why Repotting Is Important
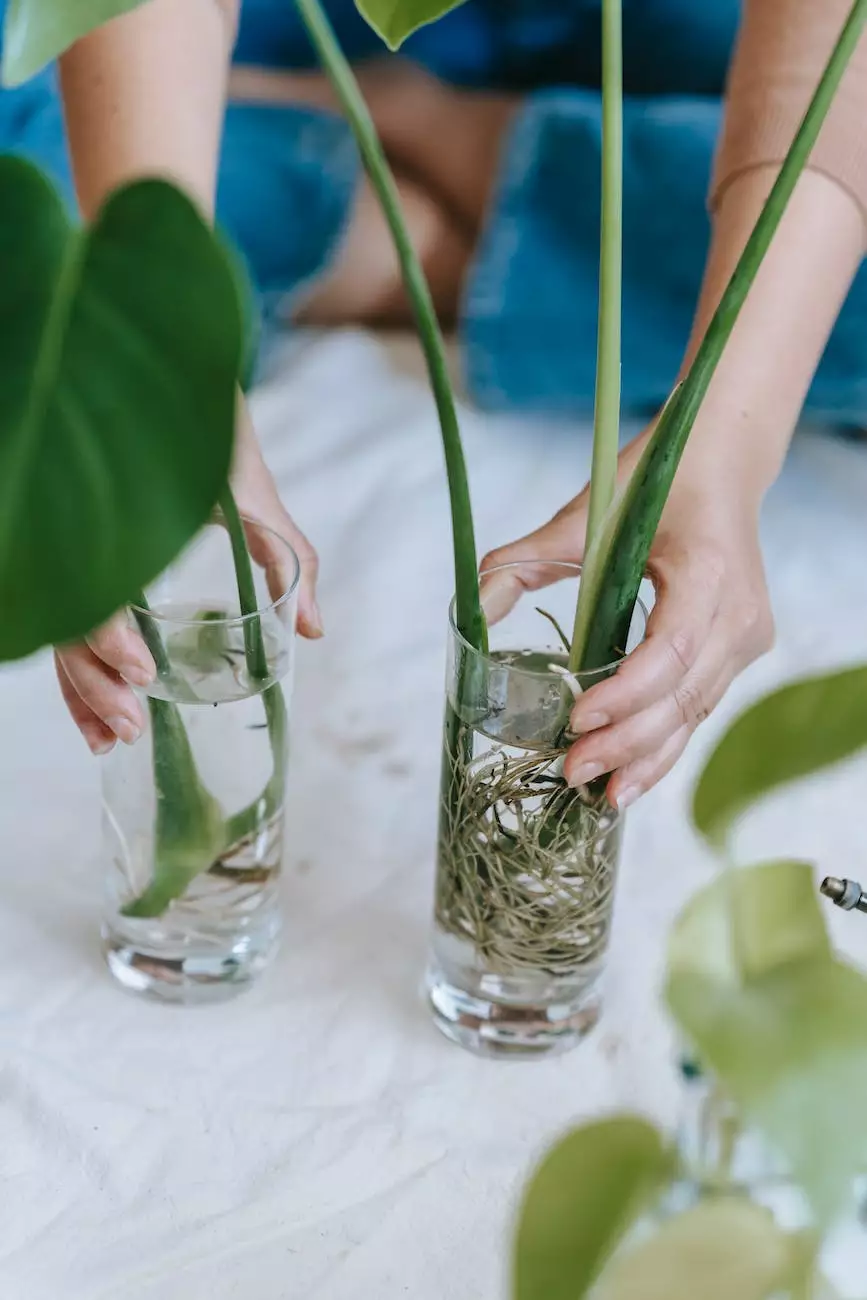
Repotting your houseplants regularly is crucial for their growth and longevity. Over time, plants outgrow their containers and the soil becomes compacted, leading to root-bound conditions. By repotting, you provide fresh nutrient-rich soil and ample space for the roots to spread and absorb necessary nutrients.
When to Repot
Knowing when to repot your houseplants is essential. Keep an eye out for the following signs:
- Serious root congestion
- Excessive top growth with limited root growth
- Yellowing leaves or poor overall health
- Roots circling the pot's surface or emerging from drainage holes
Choosing the Right Pot
Selecting the appropriate pot is as crucial as the repotting process itself. Consider the following factors:
- Size: Choose a pot that allows for at least an inch or two of extra space around the root ball.
- Drainage: Ensure the pot has sufficient drainage holes to prevent waterlogging.
- Material: Select a pot made of breathable and durable materials, such as terracotta or fibreglass.
Steps for Repotting Houseplants
Step 1: Preparation
Start by gathering the necessary supplies, including a new pot, fresh potting soil, a trowel, and optionally, a watering can.
Step 2: Watering
Water your plant a day or two before repotting to ensure it's adequately hydrated but not waterlogged.
Step 3: Removing the Plant
Gently remove the plant from its current pot by tapping the bottom and loosening the roots. Be careful not to damage the roots or stems.
Step 4: Inspecting the Roots
Inspect the root system for any signs of damage, diseases, or pests. Trim any damaged roots using clean and sharp pruning shears.
Step 5: Pruning
If your plant has become leggy or overgrown, consider pruning it back to promote bushier growth.
Step 6: Adding Fresh Soil
Place a layer of fresh potting soil in the new pot, ensuring there is enough to elevate the base of the plant adequately.
Step 7: Repotting
Position the plant in the center of the new pot and fill the remaining space with fresh potting soil, gently firming it around the roots.
Step 8: Watering and Aftercare
Thoroughly water the plant, allowing the excess water to drain out of the pot. Place the repotted plant in an appropriate location with suitable lighting and temperature conditions.
Tips and Tricks for Successful Repotting
Here are some additional tips to ensure your repotting endeavors yield the best results:
- Use a well-draining potting mix specifically formulated for your houseplants.
- Consider applying a slow-release fertilizer to provide a constant nutrient supply.
- Water your repotted plant as per its specific needs, avoiding both overwatering and underwatering.
- Observe your houseplant closely in the weeks following repotting to monitor its response and make any necessary adjustments.
Conclusion
Congratulations! You are now equipped with the knowledge and techniques required to successfully repot your houseplants. Remember, frequent repotting ensures your plants have ample room to grow and thrive. At Cutting Hedge Services, we are committed to helping you achieve a flourishing indoor garden, and repotting plays a vital role in that endeavor. Get your hands dirty and enjoy the countless benefits of repotting your precious houseplants!


